Condensation in Temperature-Humidity Chambers: How to Handle It and Why It Matters
Author:LINPIN Update Time:2025-08-30 Source:LINPINIn both industrial production and R&D labs, temperature-humidity chambers create the precise climates needed for reliability testing. Yet many users overlook a small issue that can snowball into big problems—condensate water.
When the chamber cycles through hot/high-humidity or cold/high-humidity conditions, water vapor inevitably condenses on cooler surfaces inside the chamber or on the test specimen itself. Left unmanaged, this condensate can skew test data, damage samples, and even shorten chamber life. Here is a concise, practical guide written for an international audience.
-
Where Condensate Comes From
• Rapid transitions: A sudden drop in temperature or humidity causes vapor to condense on chamber walls, the evaporator, or the sample.
• Cold spots: Any surface below the dew-point (window, specimen fixture, poorly insulated wall) becomes a condenser.
Typical pooling areas: chamber walls near the refrigeration coils, sample surfaces with poor thermal conductivity, and—if the drain backs up—inside the plenum or on the floor. -
How Condensate Can Ruin a Test
• Data corruption
– Local wet spots disturb humidity uniformity and sensor readings.
– Evaporation/condensation cycles create micro-temperature swings the PID loop cannot fully cancel.
• Sample risk
– Electronics: droplets on PCBs → short circuits or corrosion.
– Materials: papers swell, fabrics shrink, metals rust, coatings delaminate.
• Equipment risk
– Clogged drains → water overflows onto heaters or wiring harnesses.
– Water ingestion into the compressor → oil contamination and premature failure. -
Proven Ways to Eliminate or Control Condensate
A. Design features to look for when buying a chamber
• Sloped stainless-steel liner that channels water to a floor drain.
• Optional heated viewport and shelf rails to keep surfaces above the dew-point.
• Automatic drain pump or gravity drain with a P-trap to prevent back-flow of ambient air.
• Desiccant air dryer on the make-up air line to remove moisture before it enters the workspace.
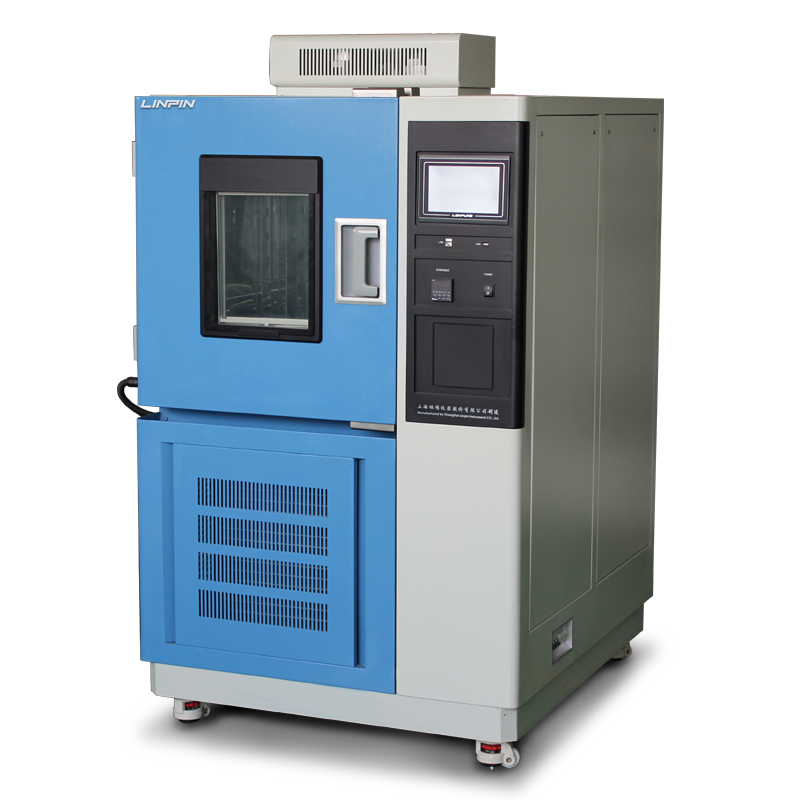
B. Operating best practices
• Ramp, don’t step: program gradual transitions (≤3 °C/min) so vapor never reaches supersaturation.
• Pre-condition the load: if the sample is colder than the chamber, warm it up first.
• Keep the door closed: every opening dumps moist room air into the workspace.
• Inspect drains daily—especially after long humidity cycles.
C. Routine maintenance
• Wipe down walls and window after each test; never let standing water evaporate inside the chamber.
• Clean the drain line monthly with a dilute bleach solution to prevent bio-film or mineral build-up.
• Check door gasket integrity; a torn seal invites humid lab air and extra condensate.
• Wipe down walls and window after each test; never let standing water evaporate inside the chamber.
• Clean the drain line monthly with a dilute bleach solution to prevent bio-film or mineral build-up.
• Check door gasket integrity; a torn seal invites humid lab air and extra condensate.
-
Choosing the Right Chamber
Key questions to ask the manufacturer: -
Does the chamber incorporate an automatic condensate removal system rated for your duty cycle?
-
Are low-dew-point options (dry-air purge, nitrogen purge) available for extreme tests?
-
Is the control software able to log condensate alarms for traceability?
Reputable brands—Weiss Technik, ESPEC, Cincinnati Sub-Zero, Angelantoni, Linkotest—offer these features and worldwide service support.
Bottom line: condensate is not a “minor nuisance.” Treat it systematically—from chamber specification to daily housekeeping—and every test will deliver accurate, defensible results while protecting both your samples and your capital equipment.

